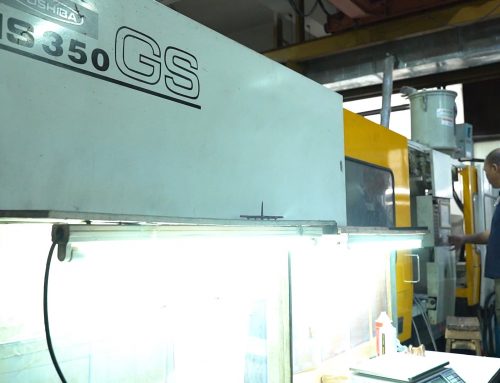
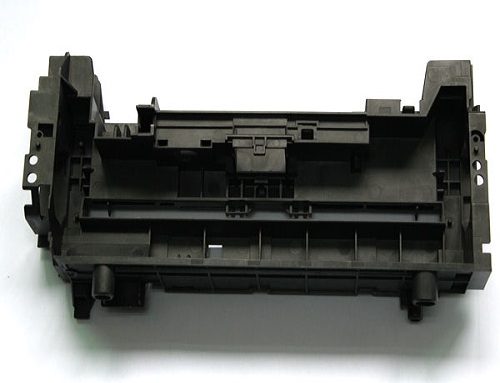
Precautions to be taken when installing molds on injection molding machines
Mould Mounting
1. when lifting, use the designated lifting ring to control the balance of the mold.
Confirmation items:
(1) Whether the hoop below the separation line has been suspended with good wire rope.
(2) Whether the ring screws have been used to the specified specifications.
(3) Whether the hoop is broken, cracked, deformed, etc.
(4) The steel wire rope should not be rusty, should not be broken, and obvious deformation and other abnormal phenomena.
(5) The steel wire rope shall be used in the specified size and thickness.
(6) Whether the fixed side (inner cavity) and the movable side (type center) have a fixed locking template.
2. The mold should be locked in place when rotating it.
Confirmation items:
(1) Rubber or wood should cushion the mold when turning to prevent a collision.
(2) When turning the mold, please note whether any accessories such as connectors, springs, bolts, etc., may come off the mold or whether they are damaged. If there is any damage, please remove and replace them; the removed parts should be installed on the injection molding machine after opening the mold.
3. The size capacity of the injection molding machine should match the size of the product.
Confirmation items:
(1) Stable injection molding machines should generally be used.
(2) There should be no dust or foreign matter on the mounting surface of the mold.
(3) The mold mounting surface should be free of unevenness.
(4)Attach both the fixed (fixed mold) and the moving (moving mold) sides to the machine at the same time.
(5) Make sure that the mold is mounted on the machine balanced.
(6) When installing the mold on the machine, install the mold on the upper and lower sides according to the specified requirements.
(7)The mold should be mounted directly on the machine using the specified bolts.
(8) When using the lever, consider the weight of the mold and the condition of the mold before mounting. The number of bolts to be used is 8 for the fixed and 8 for the moving side of the die for dies over 1 ton, and 4 for the set and 4 for the moving side of the dice for dies under 1 ton.
4. Use the same length and diameter of the ejector bar, and eject it after balanced installation.
Confirmation Items :
(1)The number of ejector rods used is two or more, 4 in principle.
(2) Each ejector bar ejected through the ejector plate should be of uniform size.
(3) The ejector bar should match the die’s ejector hole diameter and have a flat front end.
(4) The ejector bar should retain a specific clearance between the ejector bar and the ejector plate when pushing the ejector back. There should be no gap between the ejector bar and the thimble plate if the forced reset pulls back and tightens the forced reset screw.
(5) Confirm that the topper bar is tightened and there is no slack.
5. Confirm nozzle R-value
Confirmation Items :
(1 )The R-value of the nozzle should be smaller than the R-value of the contact part of the mold nozzle.
(2) The hole diameter of the nozzle should be smaller than the hole diameter of the mold.
(3) Make sure the center hole is correct.
(4) The contact part of the nozzle should be free of cracks and scars.
6. Open/close stroke adjustment of the mold for the injection molding machine.
Confirmation Item:
(1) Confirm that the mold opening and closing strokes are set for the injection molding machine.
7. Check the setting of the hydraulic core puller circuit.
Confirmation Items :
(1) Set the limit switch as specified and confirm it can be connected to the injection molding machine.
(2) Check the limit switch setting position and mounting status.
8. When tightening the mold with the injection molding machine, it is necessary to check the parallelism and close it at a low speed.
Confirmation Item :
(1) Be sure to remove the switch safety pin fitting.
9. The switch of the moving platen of the injection molding machine is closed when the mold is mounted, and its speed should be below.
Confirmation Item:
(1)When opening and closing the die, a low speed must be used for opening and closing at the beginning and end of the stroke.
10. Confirm the action of the pusher plate.
Confirmation Items :
(1) The push-out volume should not exceed the specified volume.
(2) The ejector stroke should have a 10mm margin.
(3) Make the ejector stroke first several times to check whether the movement is smooth.
(4) Check if the slide core stops in the normal position.
11. Add as many cooling water circuits as possible to allow even cooling of the mold.
Confirmation items :
(1) Insert the cooling hose into the pipe root and tighten the fittings or wire.
(2) Cooling water should be fed and discharged in the specified order.
(3) To not have the cooling hose caught on the different faces of the mold or other parts when opening and closing the mold, use a suitable length of hose that is secured to the mold.
12. Check to see any foreign objects inside the mold, and apply rust preventive oil to the different surfaces.
Confirmation items:
(1)Do not vigorously wipe the molded parts’ mirror finish and etching areas.
13. Use specified raw materials and do not use recycled resins.
Confirmation items
(1) Injection molding machines and molds should not be damaged by dust or contamination from foreign objects.
(2) Hot runners and gates should not be blocked by dust or other foreign objects.
(3) Rusting should not be caused by gas generation.
(4) Material deterioration should not result in poor mold release.
14. Verify that hydraulic piping and limit switches are correctly connected.
Confirmation items
(1) Check the hydraulic lines for oil leaks.
(2) Make sure that the limit switch is fixed and that the wires used are not abnormal.
15. When opening and closing the mold, check for any abnormal sounds.
16. Are the actuator and push plate working correctly?
Confirmation items
(1) Adequate attention should be paid and confirmed to the position of the actuator, slide core, and the inner cavity where there is interference.

